Allen Organ
GeniSys™ Display
Operation Guide
- Home Screen
- Transposer
- Capture Memory
- Options
- Acoustic Portrait
- Auto Play
- Capture Load/Save
- Capture Memory Unlock All
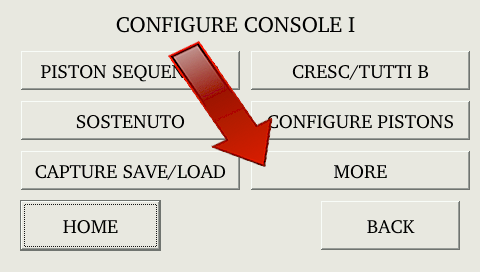
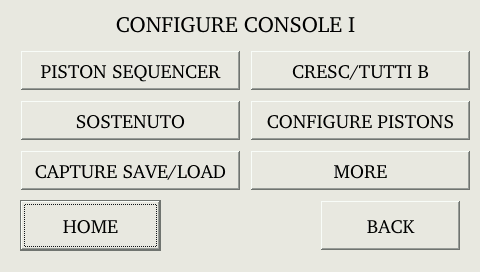
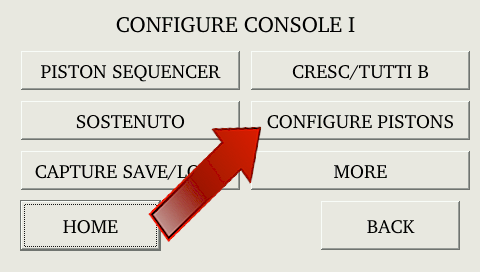
- Configure Console I
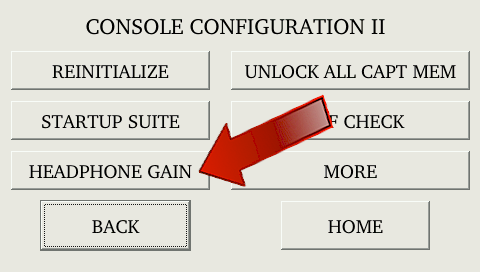
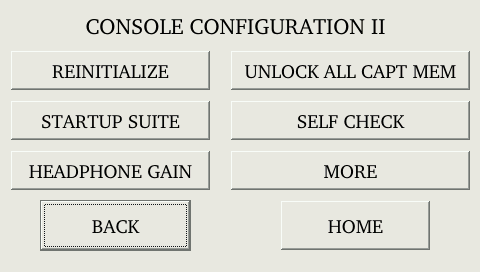
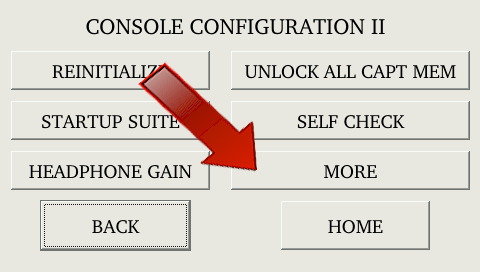
- Configure Console II
- Configure Console III
- Configure MIDI
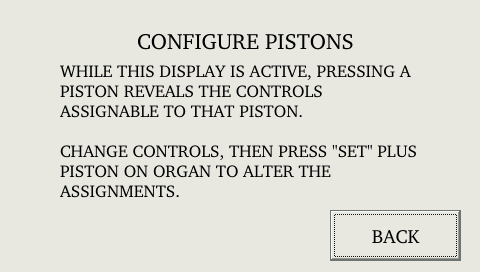
- Configure Pistons
- Crescendo & Tutti B
- Expression Shoe MIDI Data
- GeniSys Voice Edit
- GeniSys Voice Group
- GeniSys Voice Pistons Simple
- GeniSys Voice Pistons Advanced
- Headphone Volume
- Hymn Player
- MIDI Base Channel
- MIDI Program Changes
- MIDI Sustain Selector
- Organ Local Off
- Performance Player
- Piston Sequencer
- Recording
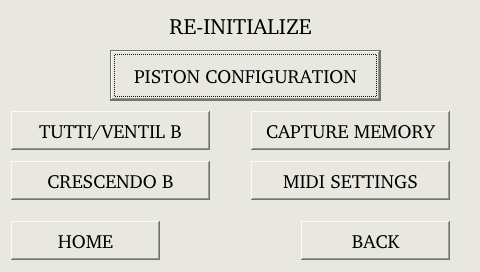
- Re-Initialize
- Remote Autoplay
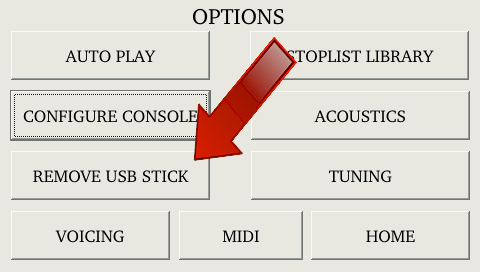
- Remove USB Stick
- Reverb
- Select GeniSys Voice to Edit
- Self Check
- Sostenuto
- Startup Stoplist Library Suite
- Stoplist Library
- Transmit/Receive Stop NRPN Data
- Tuning Options
- Voice Preset Load

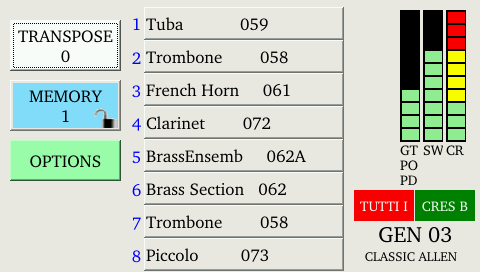
Main Screen
xExpression / Crescendo Bar Graph displays the relative position of the shoes.
Tutti I/II and Crescendo B indicators will display to indicate if those functions are active.
The currently selected Stoplist Library is displayed in the lower right corner.
Touch the Transposer or Capture Memory buttons to edit the displayed value.
Touch a GeniSys Voice name to edit the selected GeniSys Voice.
Touch the GeniSys Control button to display additional GeniSys Voice names (active only if the organ contains more than 8 GeniSys Voices).
The GeniSys Display can be turned off for "low light" situations (ex. candle light services). To turn off the display, touch anywhere within the expression/crescendo bar graph area of the display and the display will turn off. To turn the display back on, simply touch any area of the display.
Transposer
x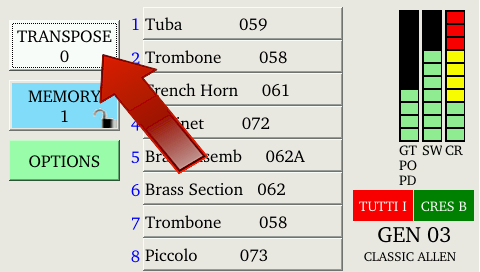
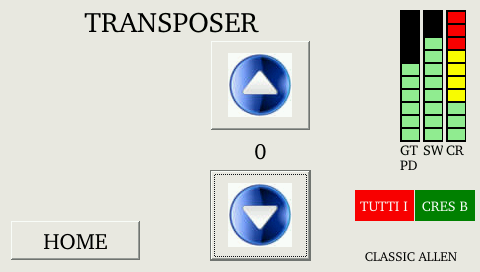
The Transposer can be adjusted up five half-steps high and down seven half-steps lower from neutral position.
Capture Memory
x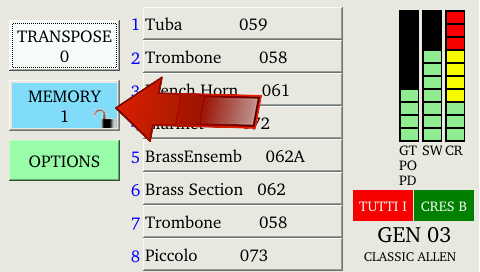
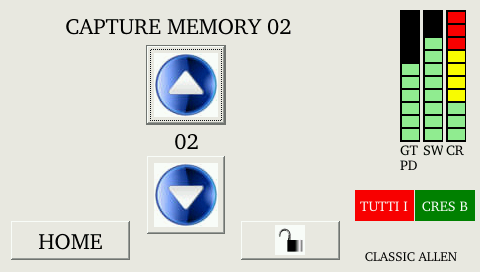
Total available Capture Memories are determined by the model organ.
Press the UP/DOWN arrows to change the capture memory level.
All capture memory levels can be locked, except level #1. Press the LOCK button and enter a three digit code to lock/unlock the capture memory level.
A different three digit code can be entered for each available capture memory level.
Recording
x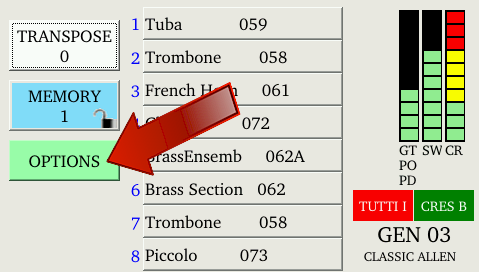
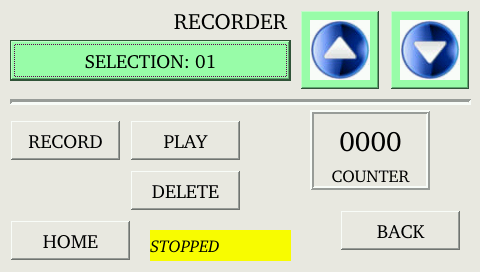
Important! Any changes in piston registrations between time of recording and playback will alter playback registrations.
AFTER beginning recording, do the following:
- Press CANCEL to ensure correct capture memory level during playback.
- Move expression shoe(s) to ensure correct volume levels during playback.
- Select desired piston or stops.
BEFORE ending the record process, press CANCEL and move expression shoes to minimum position.
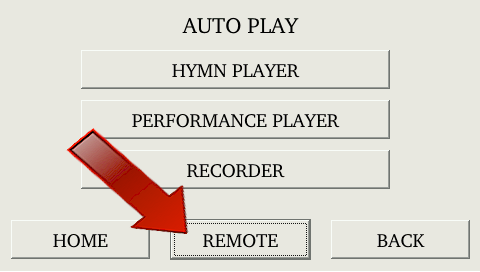
Remote
x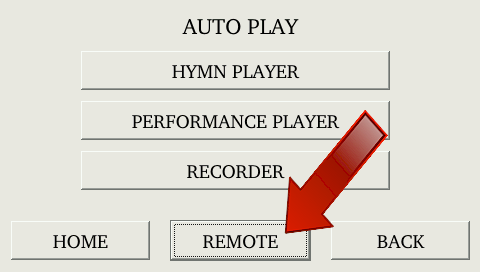

REMOTE allows the user to connect to the organ using the iPhone/iPad or Android application to control the various Auto-Play functions.
When the REMOTE button is highlighted, the remote APP will have control over the Auto-Play functions.
If REMOTE is not highlighted, control is local to the display.
Note: This feature requires additional hardware installed in the organ.
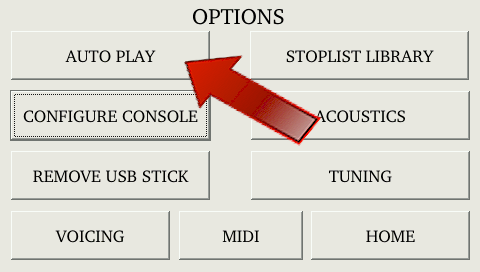
Auto Play
x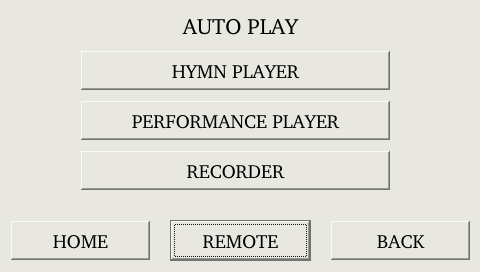
REMOTE allows the user to connect to the organ using the iPhone/iPad or Android application to control the various Auto-Play functions.
Note: This feature requires additional hardware installed in the organ.
Acoustic Portrait
x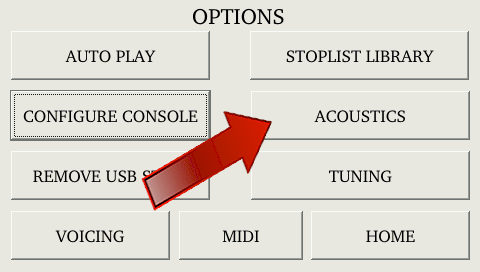

Set display ON/OFF button to "ON" to hear Acoustic Portrait.
Acoustic Portrait gain (volume) is adjustable from +6dB (loudest) to -35dB (softest).
There are 10 possible Acoustic Portraits™. To change Acoustic Portrait, press the selection list and use the up and down arrows. Press display SET button to implement change.
Performance Player
x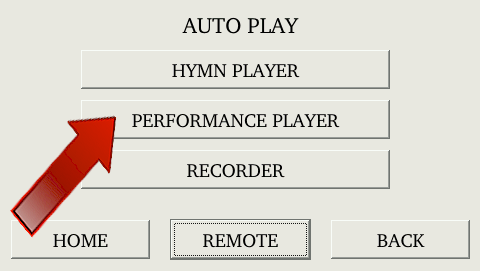
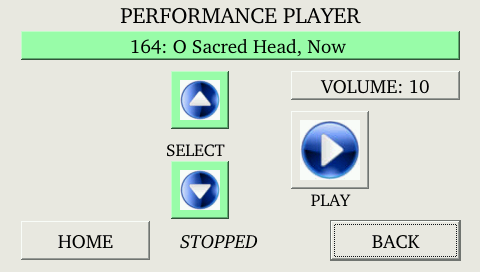
Select Performance song to play by highlighting the song name selection and using the UP/DOWN buttons.
Set Volume by highlighting the associated button and using the UP/DOWN buttons.
Stoplist Library
x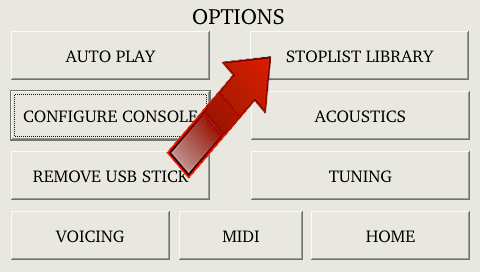

Select a different voicing suite using the UP/DOWN buttons.
Press LOAD once the desired voicing suite is displayed.
Headphone Gain
x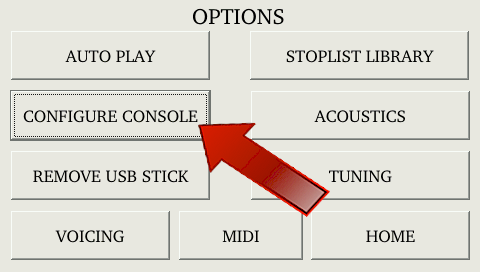
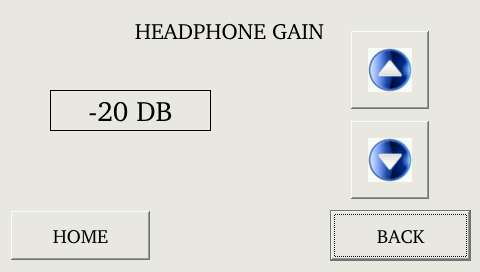
Use the UP/DOWN buttons to change the volume of the Headphone.
Volume range is -35dB (least volume) to +6dB (most volume).
MIDI Program Changes & Display Options
x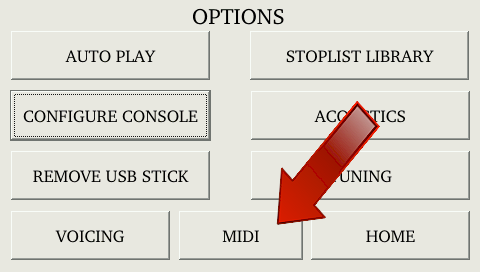

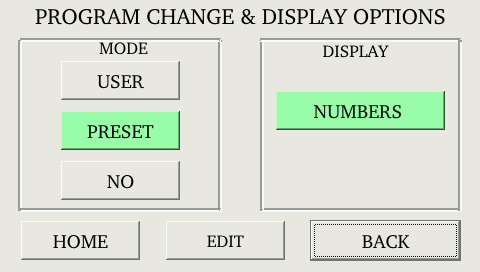
Change MIDI Mode by highlighting the displayed modes.
Change Display option by highlighting the available display selection.
Select GeniSys™ Voice Presets
x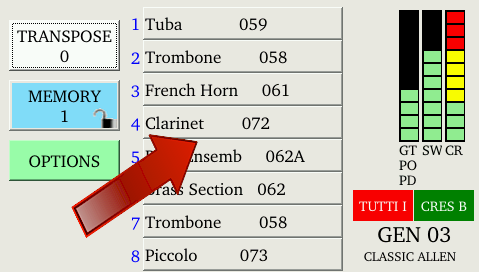
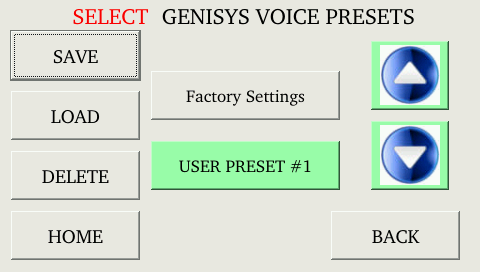
Highlight the Factory Settings or User Preset button.
Once highlighted / selected, use the UP/DOWN buttons to select a Factory preset name or User number.
Touch SAVE, LOAD or DELETE to select the desired function for the selected preset.
Important: Factory presets cannot be deleted!
Hymn Player
x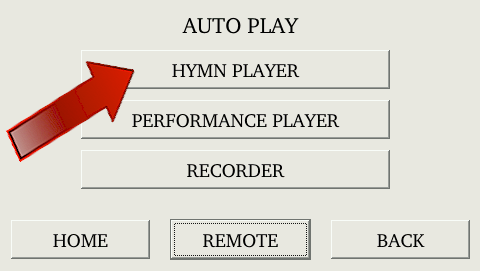
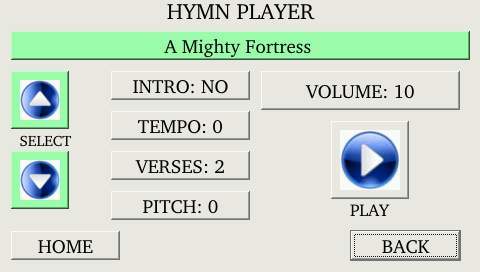
Select Hymn to play by highlighting the Hymn selection and using the UP/DOWN buttons.
Set Intro, Tempo, number of Verses, Volume and Pitch by highlighting the associated button and using the UP/DOWN buttons.

Tuning Options
x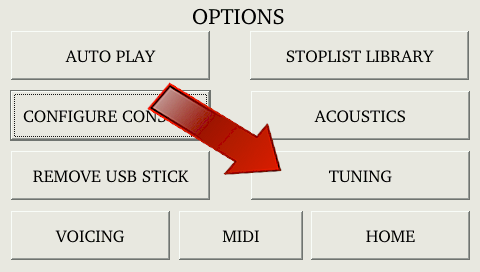
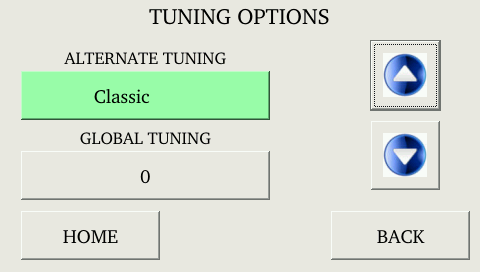
Alternate Tuning: Select a different Alternate Tuning by highlighting the Alternate Tuning and then using the UP/DOWN buttons to change the tuning selection.
Global Tuning: Changes the overall tuning of the organ (in cents). Highlight the Global Tuning value and use the UP/DOWN buttons to change the tuning value. Maximum change value is plus/minus 100 cents.
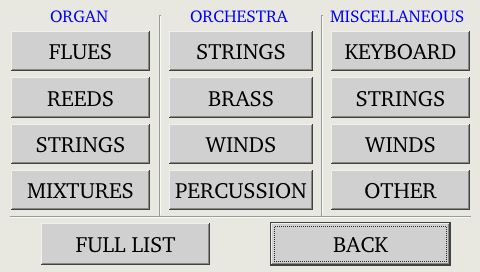
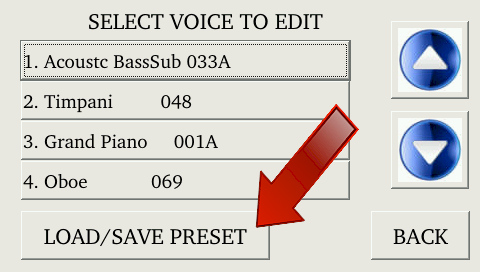
Select Voice to Edit
x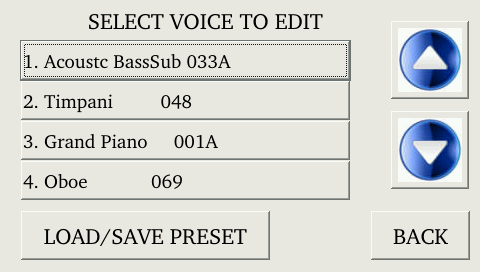
Use the UP/DOWN buttons to access other GeniSys Voice selections not displayed.
Touch a displayed GeniSys Voice name to edit the voice parameters.
The Load / Save Preset button will Load or Save (or Delete) a complete GeniSys Voice Preset of all GeniSys Voice selections.
LOAD / DELETE Error: If the User Preset number selected does not exist, a "NO FILE FOUND" error message will appear at the bottom of the GeniSys Display when attempting to LOAD or DELETE the preset number. Select another User Preset number to proceed.
SAVE Error: If a User Preset number selected already exists when attempting to SAVE a User Preset, a "FILE EXISTS" error message will appear at the bottom of the GeniSys Display when attempting to LOAD or DELETE the preset number. Select another User Preset number to proceed.

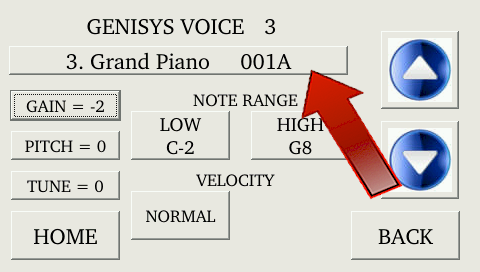
GeniSys™ Voice Edit
x

Touch the GeniSys Voice name to select a different GeniSys voice.
Highlight the GAIN, PITCH, TUNING, VELOCITY and NOTE RANGE buttons and then edit the value using the UP/DOWN buttons.
GAIN: range is -35dB (least volume) to 0dB (most volume)
PITCH: range is -12 to +12
TUNE: range is -100 to 100 cents
VELOCITY: Fixed range is 0 (least) to 127 (most)
Piston Sequencer
x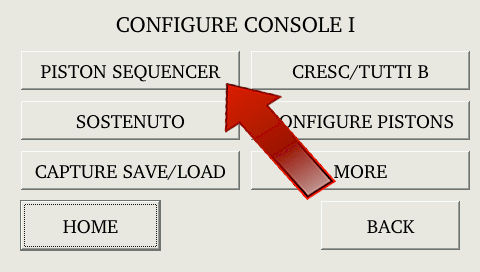
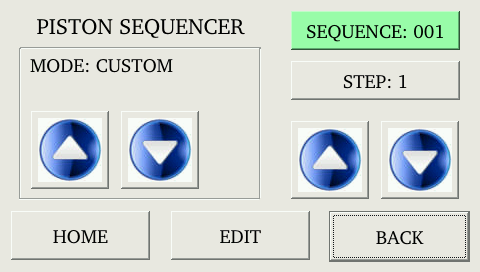
Three modes:
- Simple - Steps through all General pistons within a single capture memory level.
- Advanced - Step through all General pistons within multiple consecutive capture memory levels.
- Custom - Steps through a custom programmed piston sequence using any piston (Gen/Div) from any capture memory level.
Sostenuto on GT
x
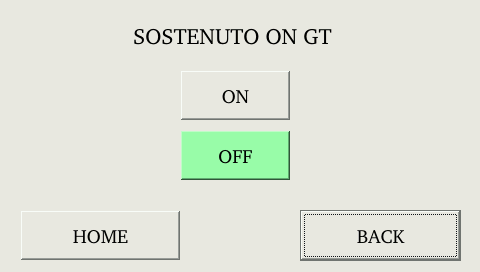
Turn on or off the Sostenuto function on the assigned manual by highlighting the ON or OFF button.
Capture Load/Save
x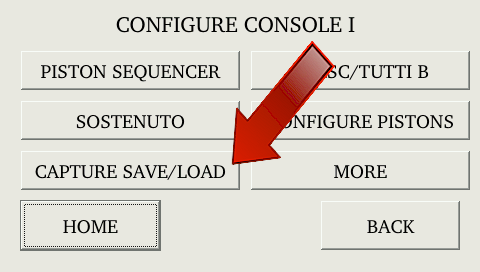
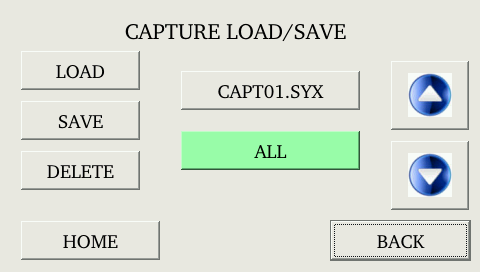
Select the file number and type of data to save or load by highlighting the associated button and then use the UP/DOWN buttons to make the selection.
Press LOAD, SAVE or DELETE to complete the action.
Crescendo & Tutti B
x
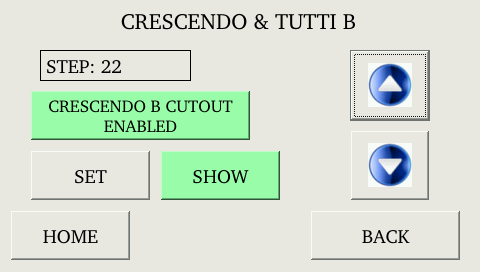
Program or show the programmable "B" Crescendo/Tuttis.
CRESC B and TUTTI II configuration is found in the CONFIG CONSOLE window. To set CRESC B, navigate to that window and press the CRESC/TUTTI B graphic on the display. Press the SHOW graphic to view stops currently registered for each step using the Up/Down arrows. To change a step's registration, select the SET graphic on the display. Using the Up/Down arrows, select the step you wish to change. Select or un-select the stop(s) you wish to register for that step. While holding the SET piston on the console, press the CRESC B piston. Repeat for each CRESC B step as desired.
To set TUTTI II, press the TUTTI II console piston. TUTTI II will show in the display. Select the SHOW graphic, then press the TUTTI II console piston again to view stops currently registered. To change any of the stops, select the SET graphic on the display and select or un-select the stop(s) you wish to register for that step. While holding the SET piston on the console, press the TUTTI II console piston. Press HOME to exit the window.
MIDI Sustain Selector
x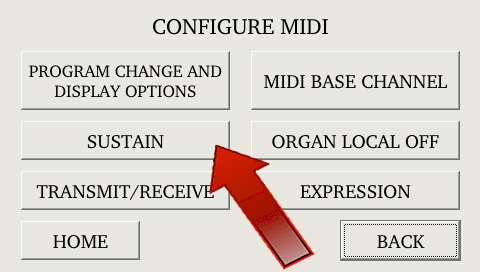
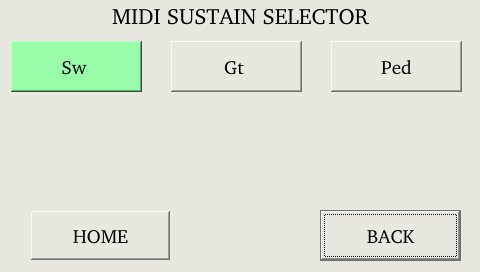
Turn on MIDI Sustain for a specific manual by highlighting a selected manual.
Transmit/Receive Stop NRPN Data
x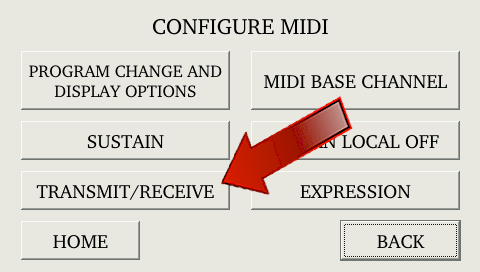
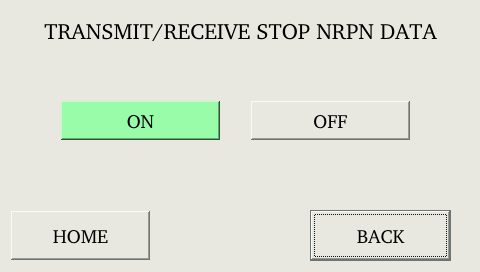
Sets whether the organ can transmit or receive MIDI NRPN stop information.
Highlight the ON or OFF button to select the status.
MIDI Base Channel
x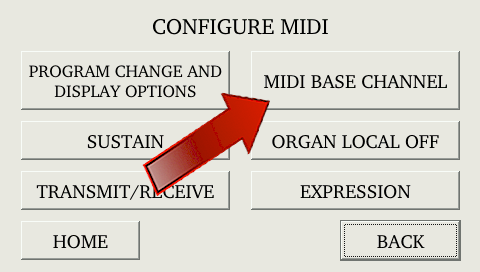
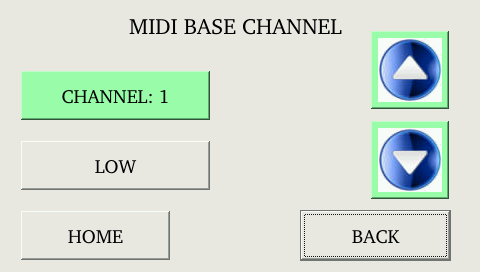
Sets the MIDI Channel of Swell Division (Base channel) and Bank Level. All organ division MIDI channels are similarly affected as base channel is changed.
Highlight the MIDI Channel button and then use the UP/DOWN buttons to change the MIDI channel.
Highlight the BANK Level button and then use the UP/DOWN buttons to change the Bank Level.
Organ Local Off
x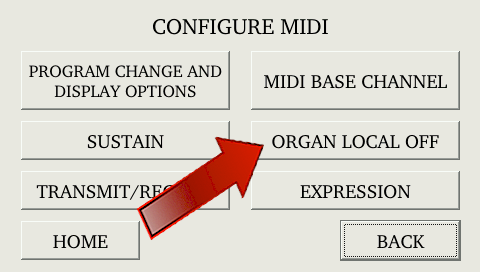
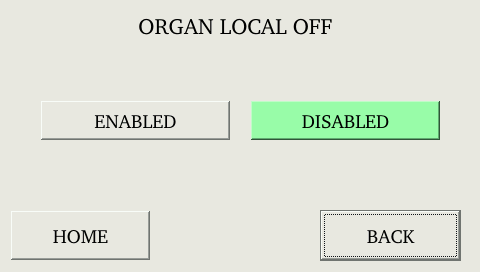
Enables/disables the Organ Local Off feature.
Highlight the associated ENABLE / DISABLE button to turn the feature on or off.
Expression Shoe MIDI Data
x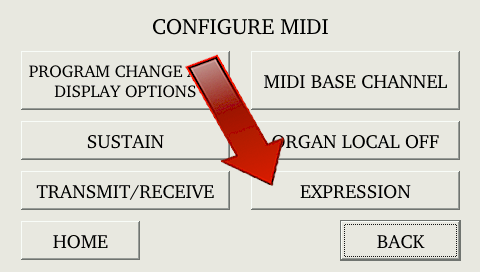
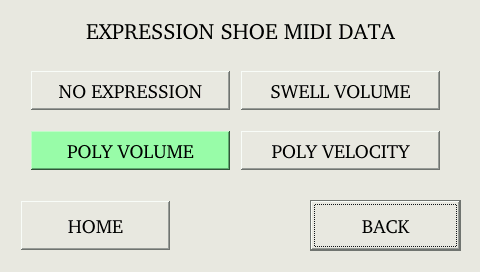
Sets the MIDI control mode of the organ's expression shoes.
Highlight the associated button for the desired function.
Startup Stoplist Library Suite
x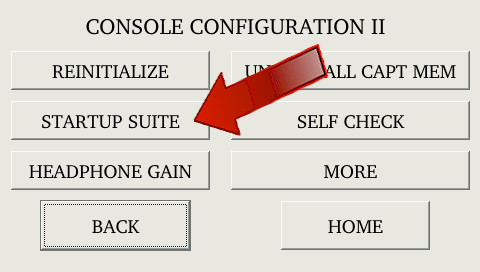
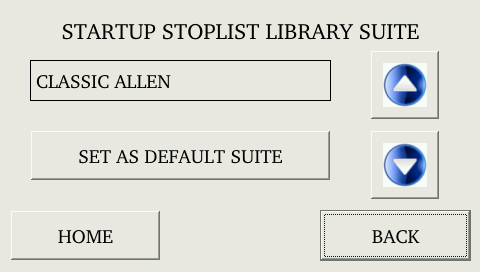
Set the Voicing Suite that is loaded when the organ is turned on.
Change the displayed voicing suite by using the UP/DOWN buttons and then press the SET AS DEFAULT SUITE button to activate the change.
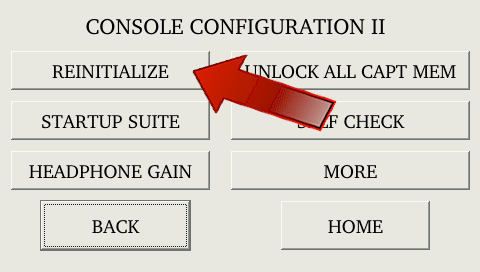
Unlock All Capture Memory
x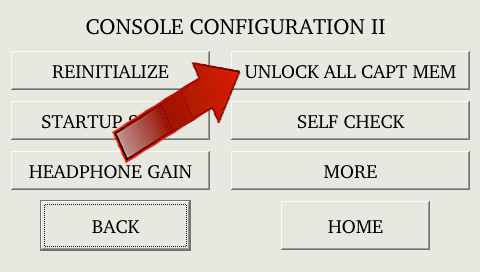
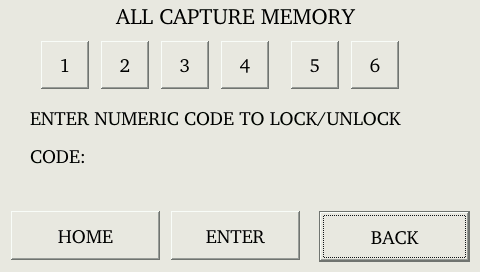
In case any code is forgotten ALL capture memory levels can be unlocked.
Enter code 2 - 5 - 5 and press ENTER.
Self Check
x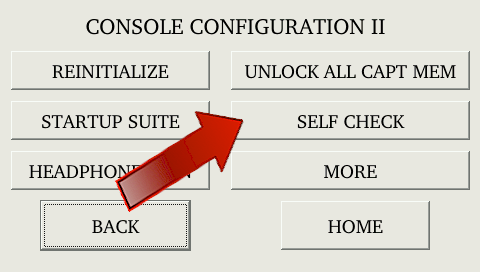

Tests each stop position for operation.
Press START to begin test. Press STOP at any time to cancel testing.
Lumitech: Stop indicators will turn on and off sequentially.
Drawknobs / Rockertabs: Stops will toggle on and off sequentially.
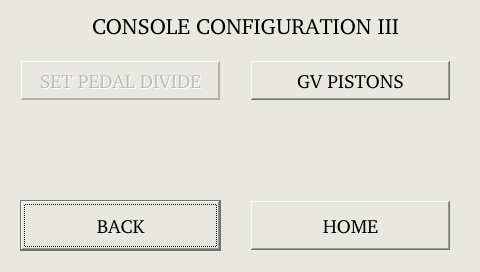
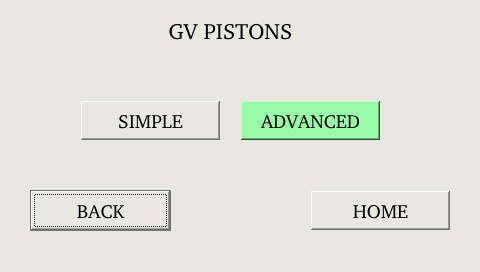
GV Pistons Simple
x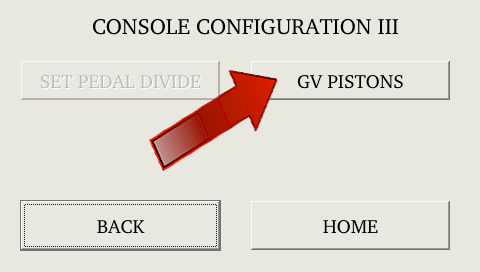
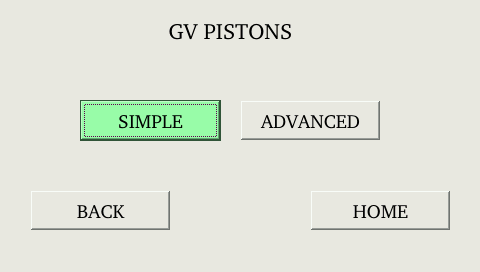
SIMPLE mode does not allow GeniSys™ Voices sounds to be assigned per piston. The same GV sounds remain unchanged no matter what piston is selected.